Fit the system, not only the size.
Review resolution, RGB / LVDS / MIPI, pinout, FPC routing and outline against your host and enclosure.
FPC & interface review ↗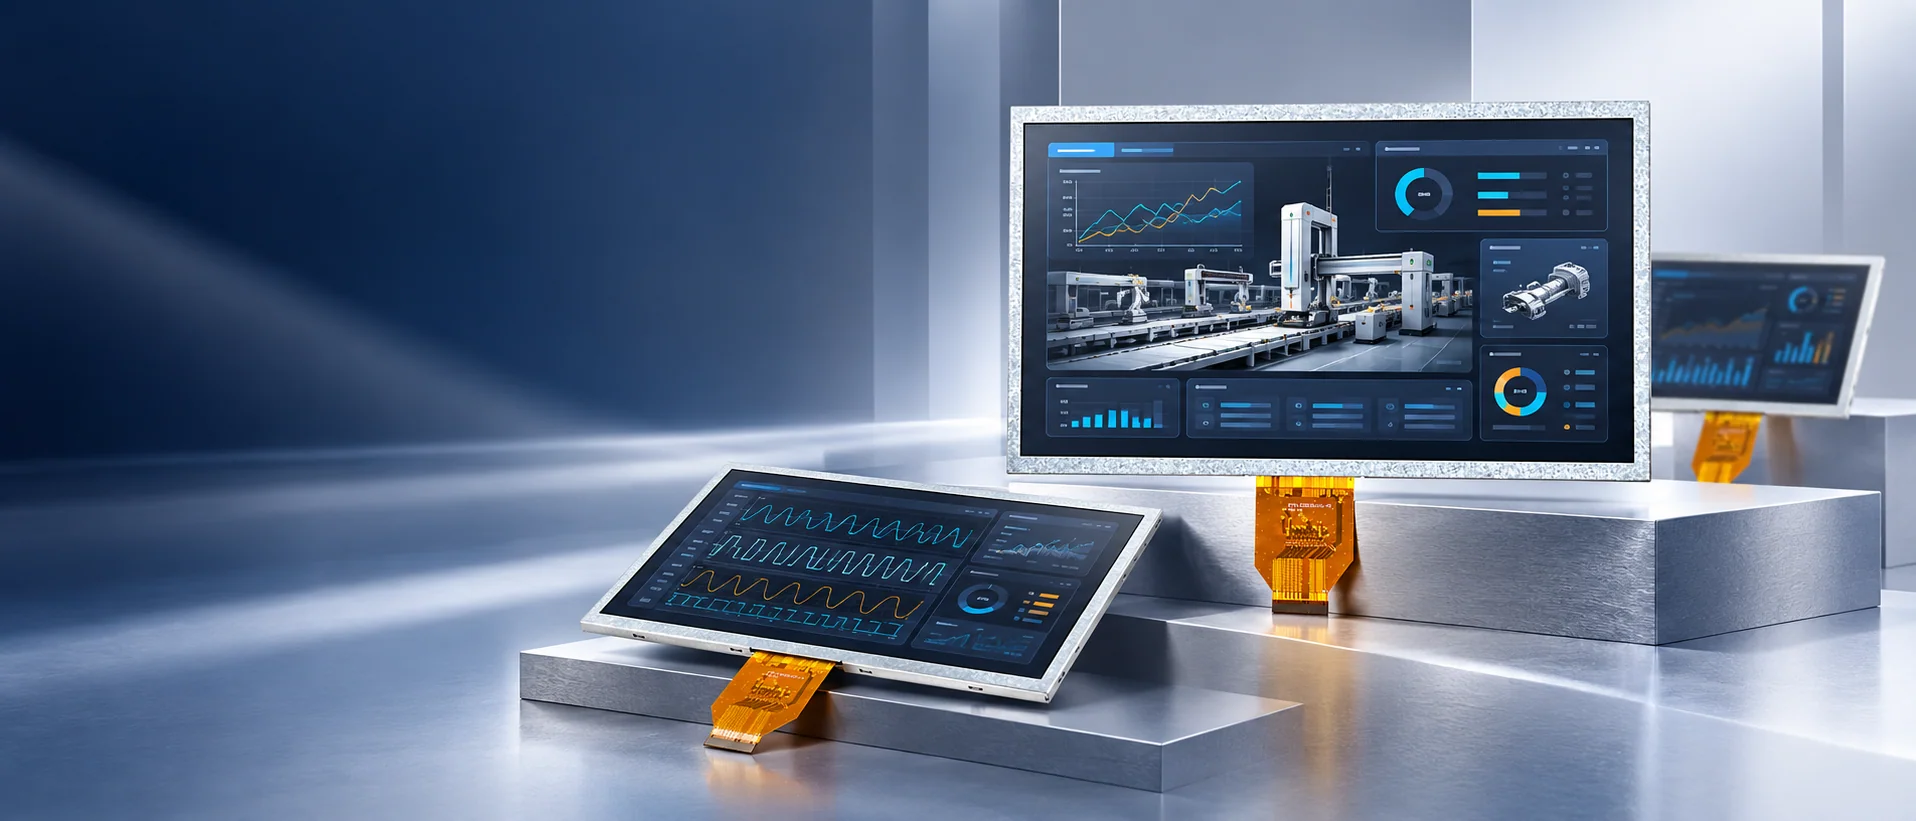
FOR OEM & INDUSTRIAL EQUIPMENT
The right display is more than a screen.
Bring module selection, touch, optics and interface integration into one engineering conversation.
Company figures from DISEA’s published company information. Review the source →
01 / MANUFACTURING & QUALITY
Look beyond a product image. Explore the production environment, inspection stations and test equipment behind the display program.
Explore factory & quality

Operators and modules at the workbench.

Chambers shown in DISEA quality materials.
02 / THE ENGINEERING DIFFERENCE
Start with the host, enclosure and operating conditions. Then review where a standard module fits—and where customization needs to be evaluated.
Explore engineering support ↗
Review resolution, RGB / LVDS / MIPI, pinout, FPC routing and outline against your host and enclosure.
FPC & interface review ↗Consider backlight, ambient reflections, PCAP touch, cover glass and optical bonding as one front-stack decision.
Touch & optical integration ↗Use the current datasheet and approved drawing. Agree sample checks for electrical, optical, mechanical and environmental fit.
Open the requirements checklist ↗03 / SELECTED DISPLAY SOLUTIONS
Four starting points for an engineering shortlist. Explore the module, then confirm the current specification for your application.
Explore the full display range ↗
DS-T080QGH-09
800×600 · 1200 cd/m² · RGB
For reviewing a bright 4:3 HMI requirement.
DS-T101HIEWA-01CP
1280×800 · 850 cd/m² · LVDS
For a touch-enabled front-stack review.
DS-T121BIHA-01
1280×800 · 1000 cd/m² · LVDS
For reviewing a larger industrial interface.
DS-T068BZSA-01
480×1280 · 450 cd/m² · MIPI
For a narrow enclosure or vertical HMI.Compare published modules: 7-inch LVDS · 10.1-inch touch & LVDS · MIPI bar type
04 / BUILT AROUND THE APPLICATION
The application changes the questions: visibility, touch behavior, cleaning, temperature and enclosure integration.
Explore application requirements ↗
Host fit. Operator readability. Enclosure integration.
↗
Front-stack design and cleaning requirements.
↗
Ambient reflections and thermal conditions.
↗Application scenes illustrate use categories; they are not documented customer installations.
A CLOSER LOOK
Review the DISEA factory introduction, then discuss the production and validation requirements that matter to your display program.
Company & manufacturing evidence ↗
No autoplay. The video loads when you choose to watch.
INSIDE THE OPERATION
Actual DISEA facility images show the environments behind module assembly, inspection, packing and storage.
Equipment and assembly workstations.
A view of inspection at the workstation.

Modules and materials being prepared for packing.

Packed cartons in the storage area.
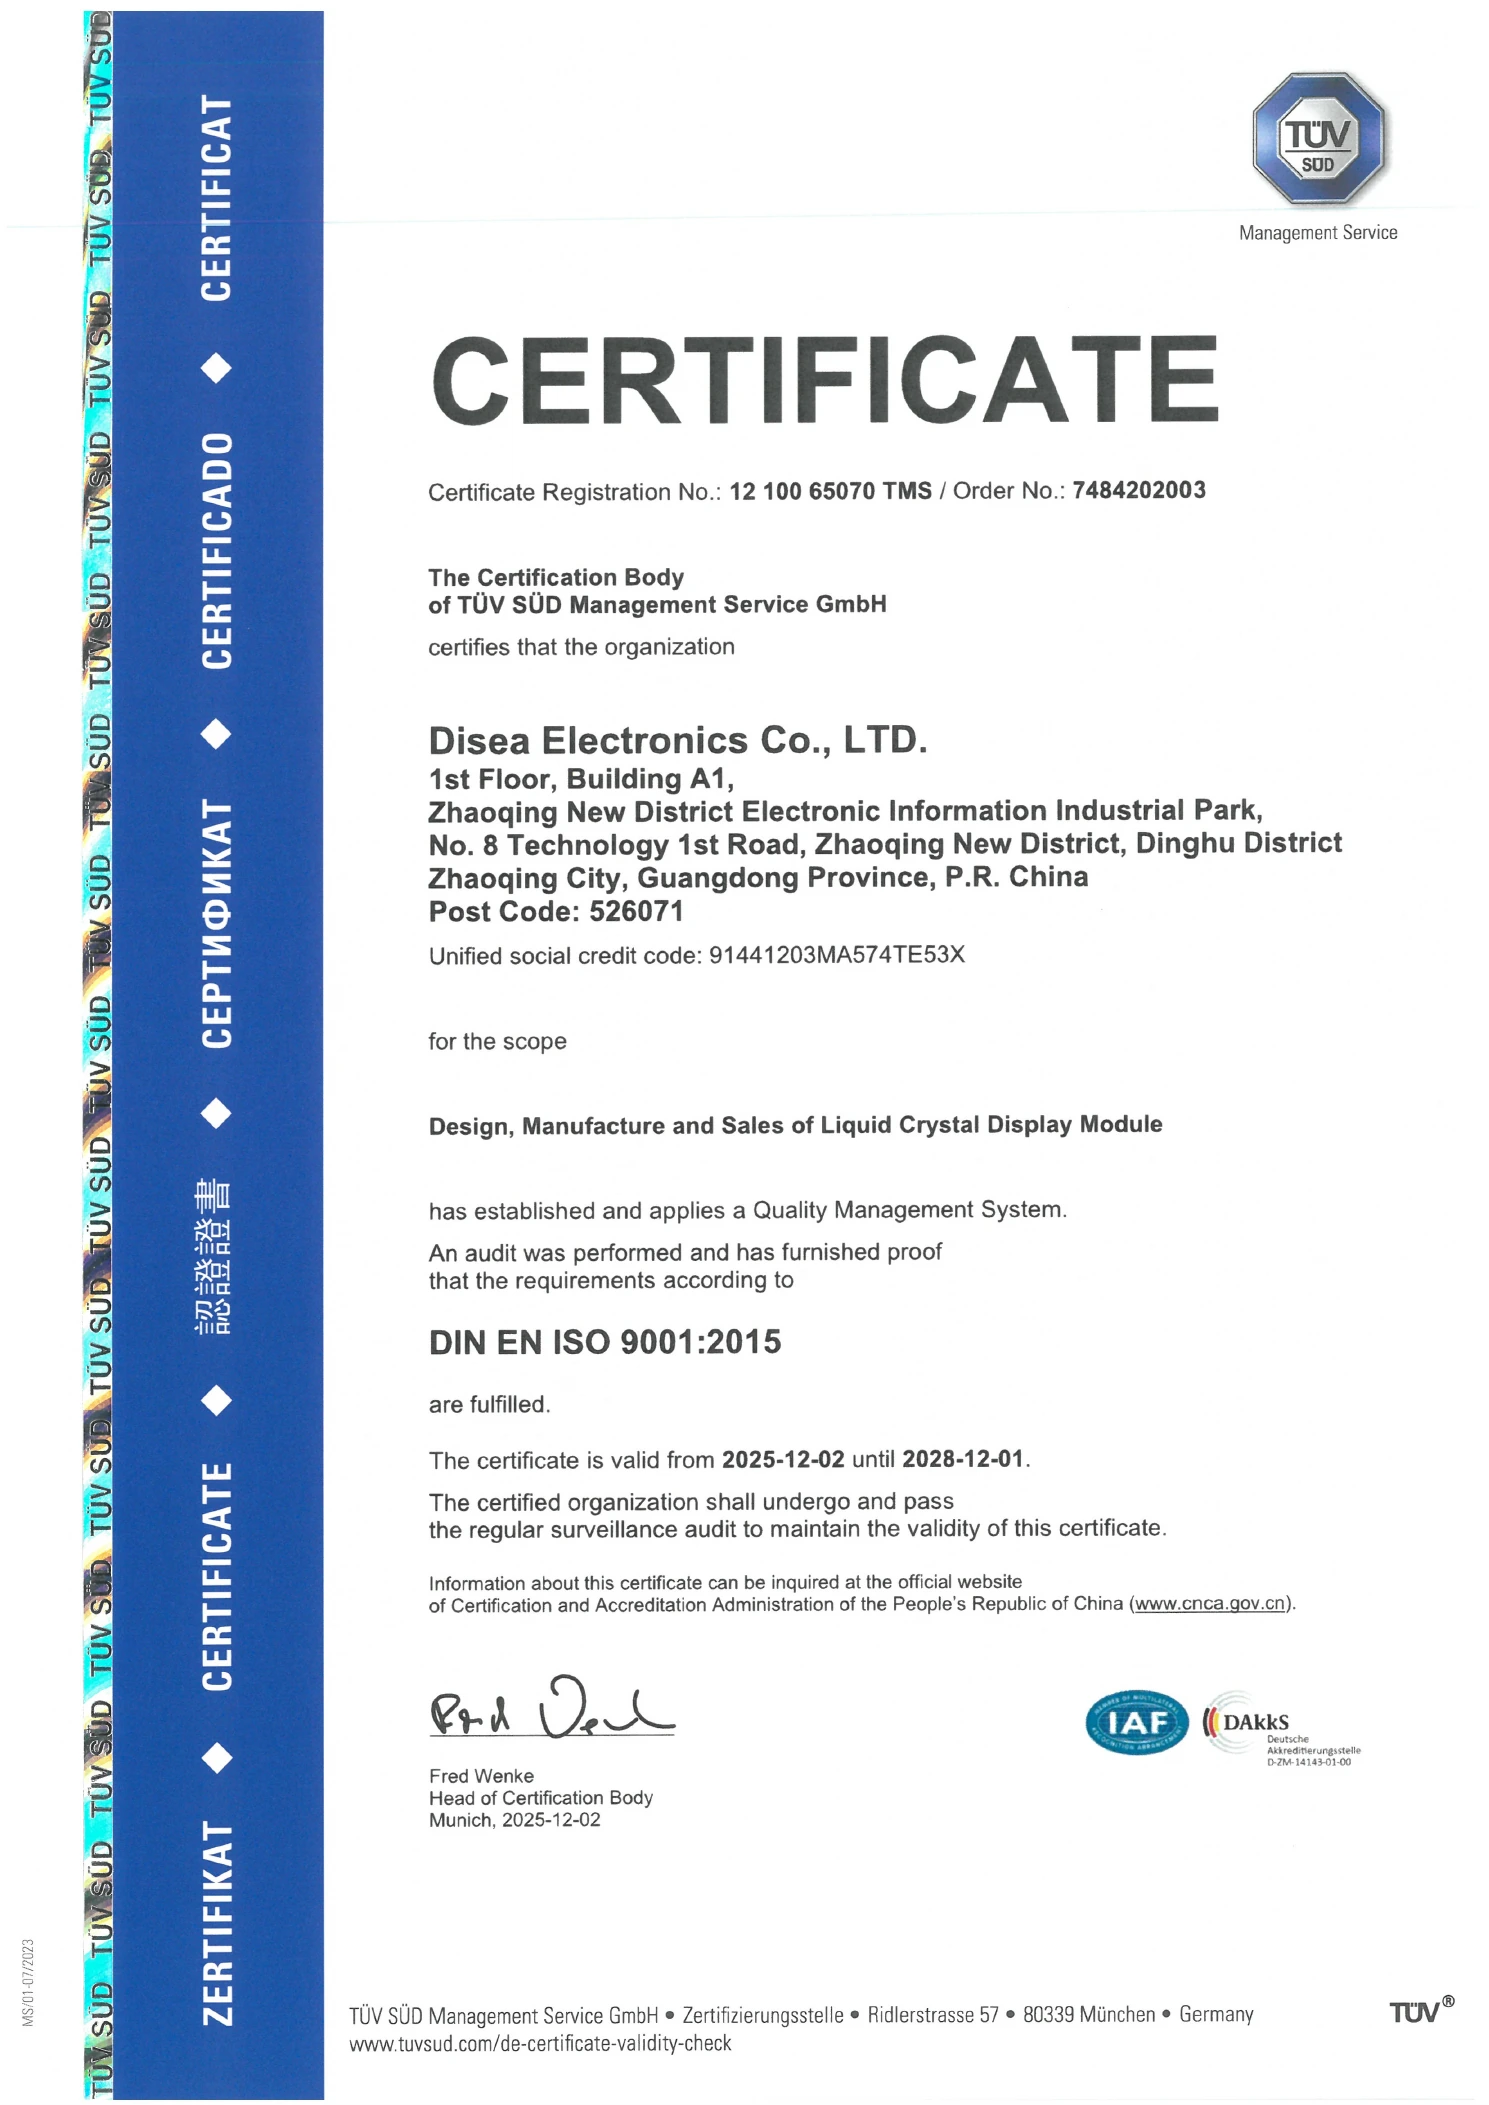
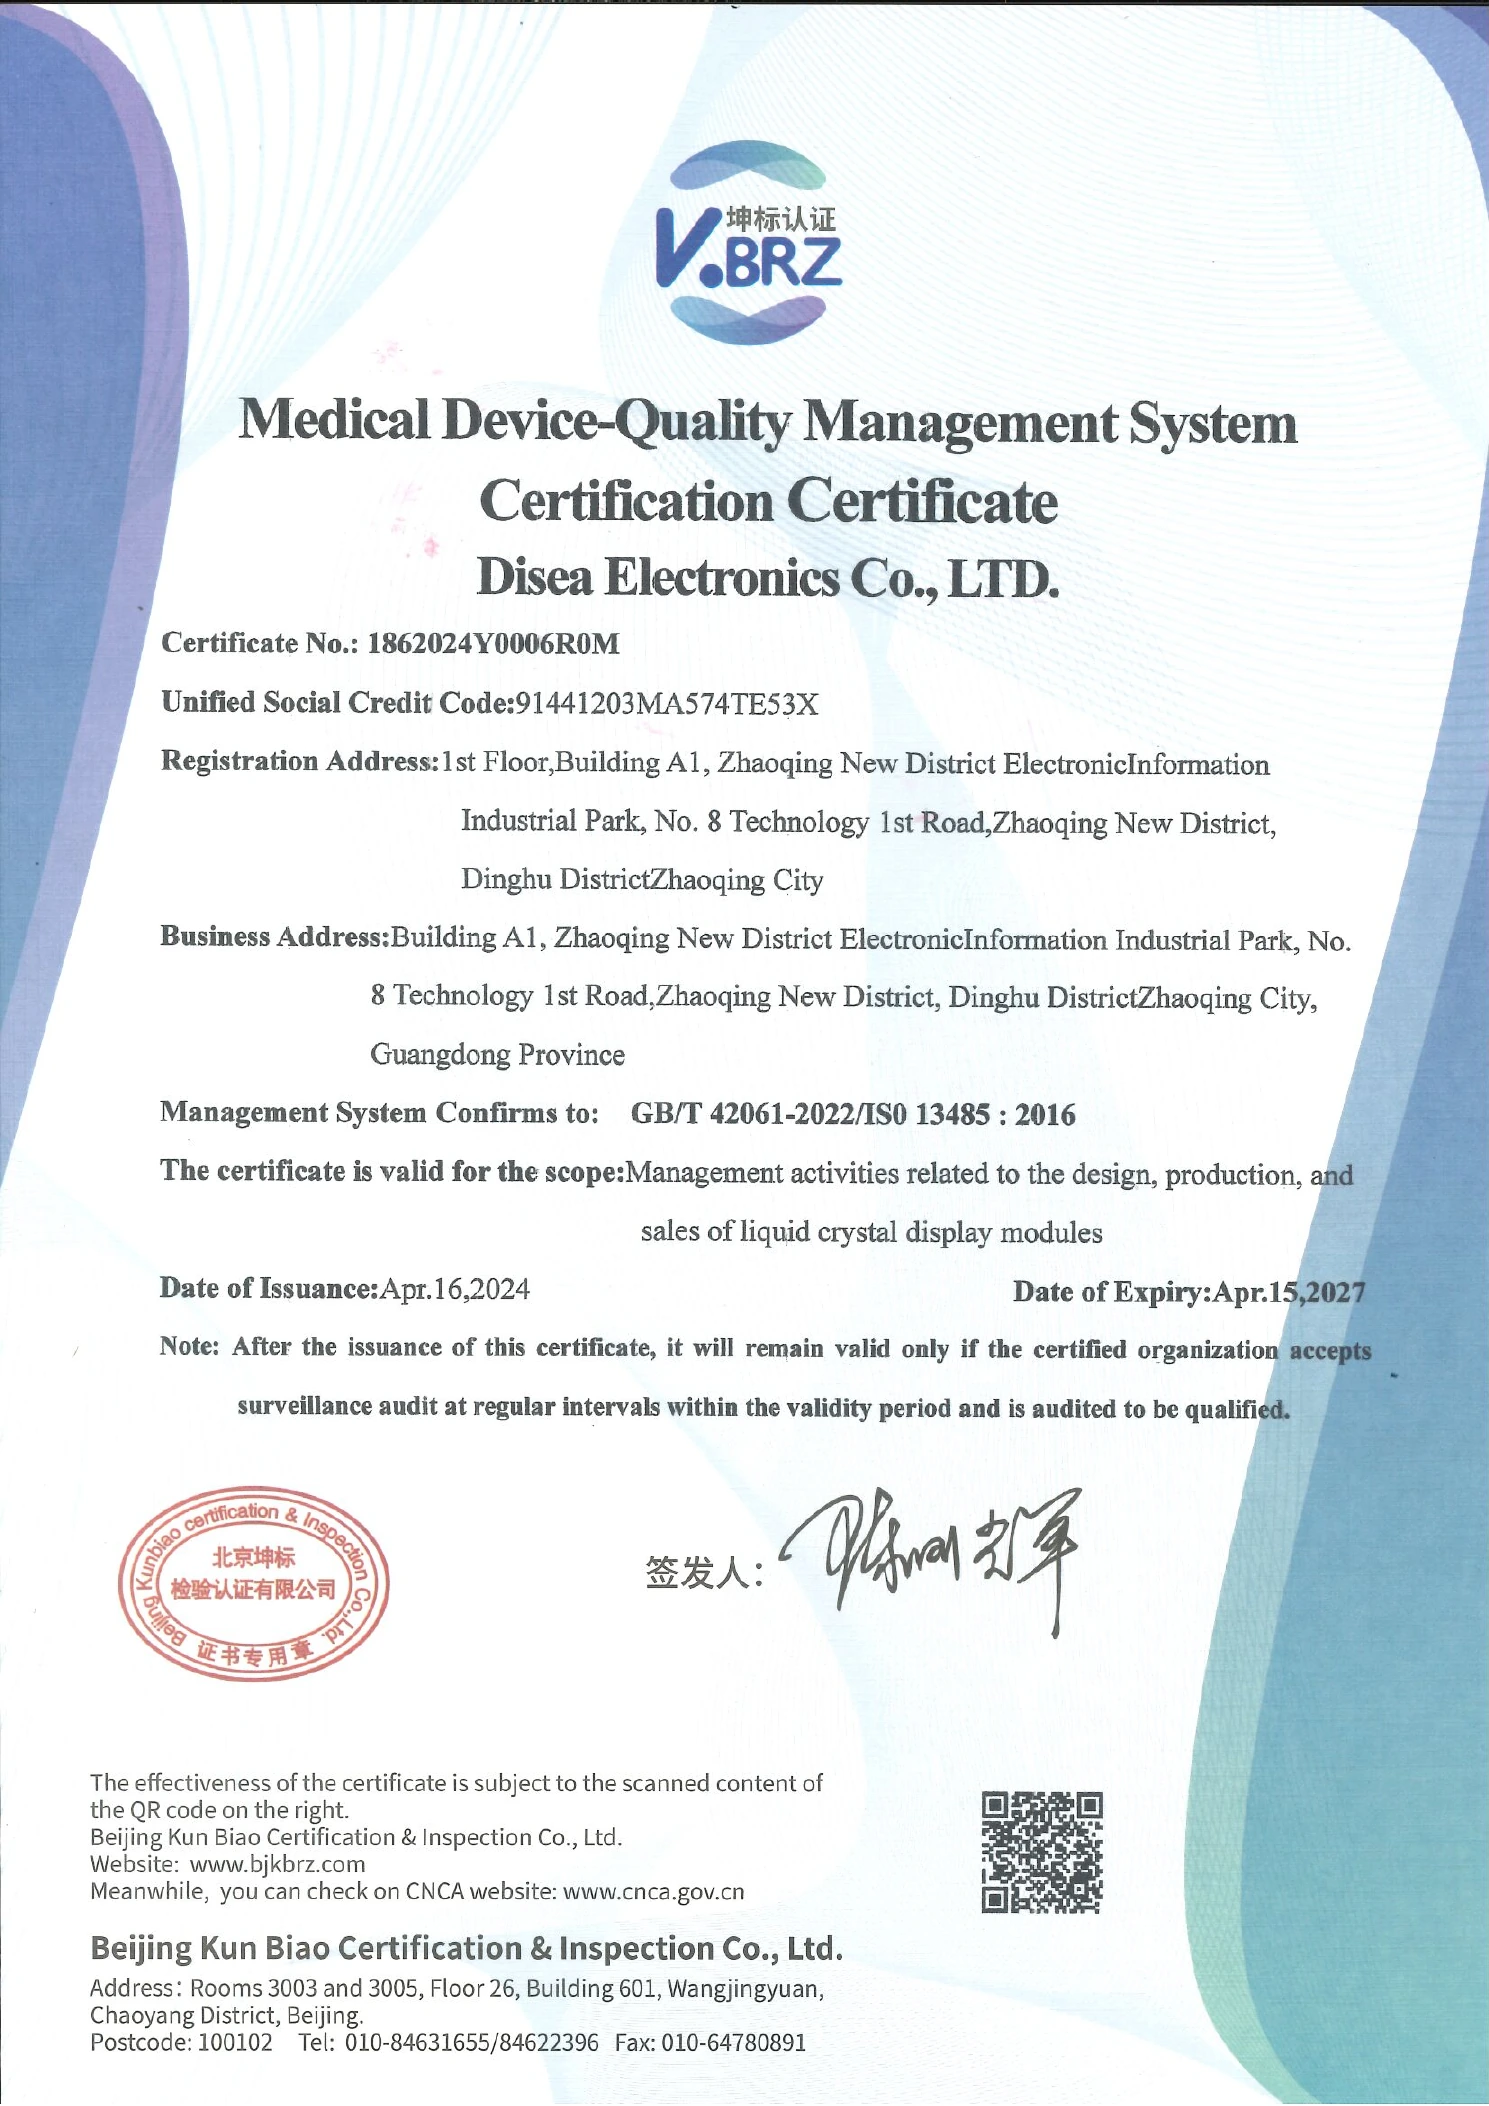
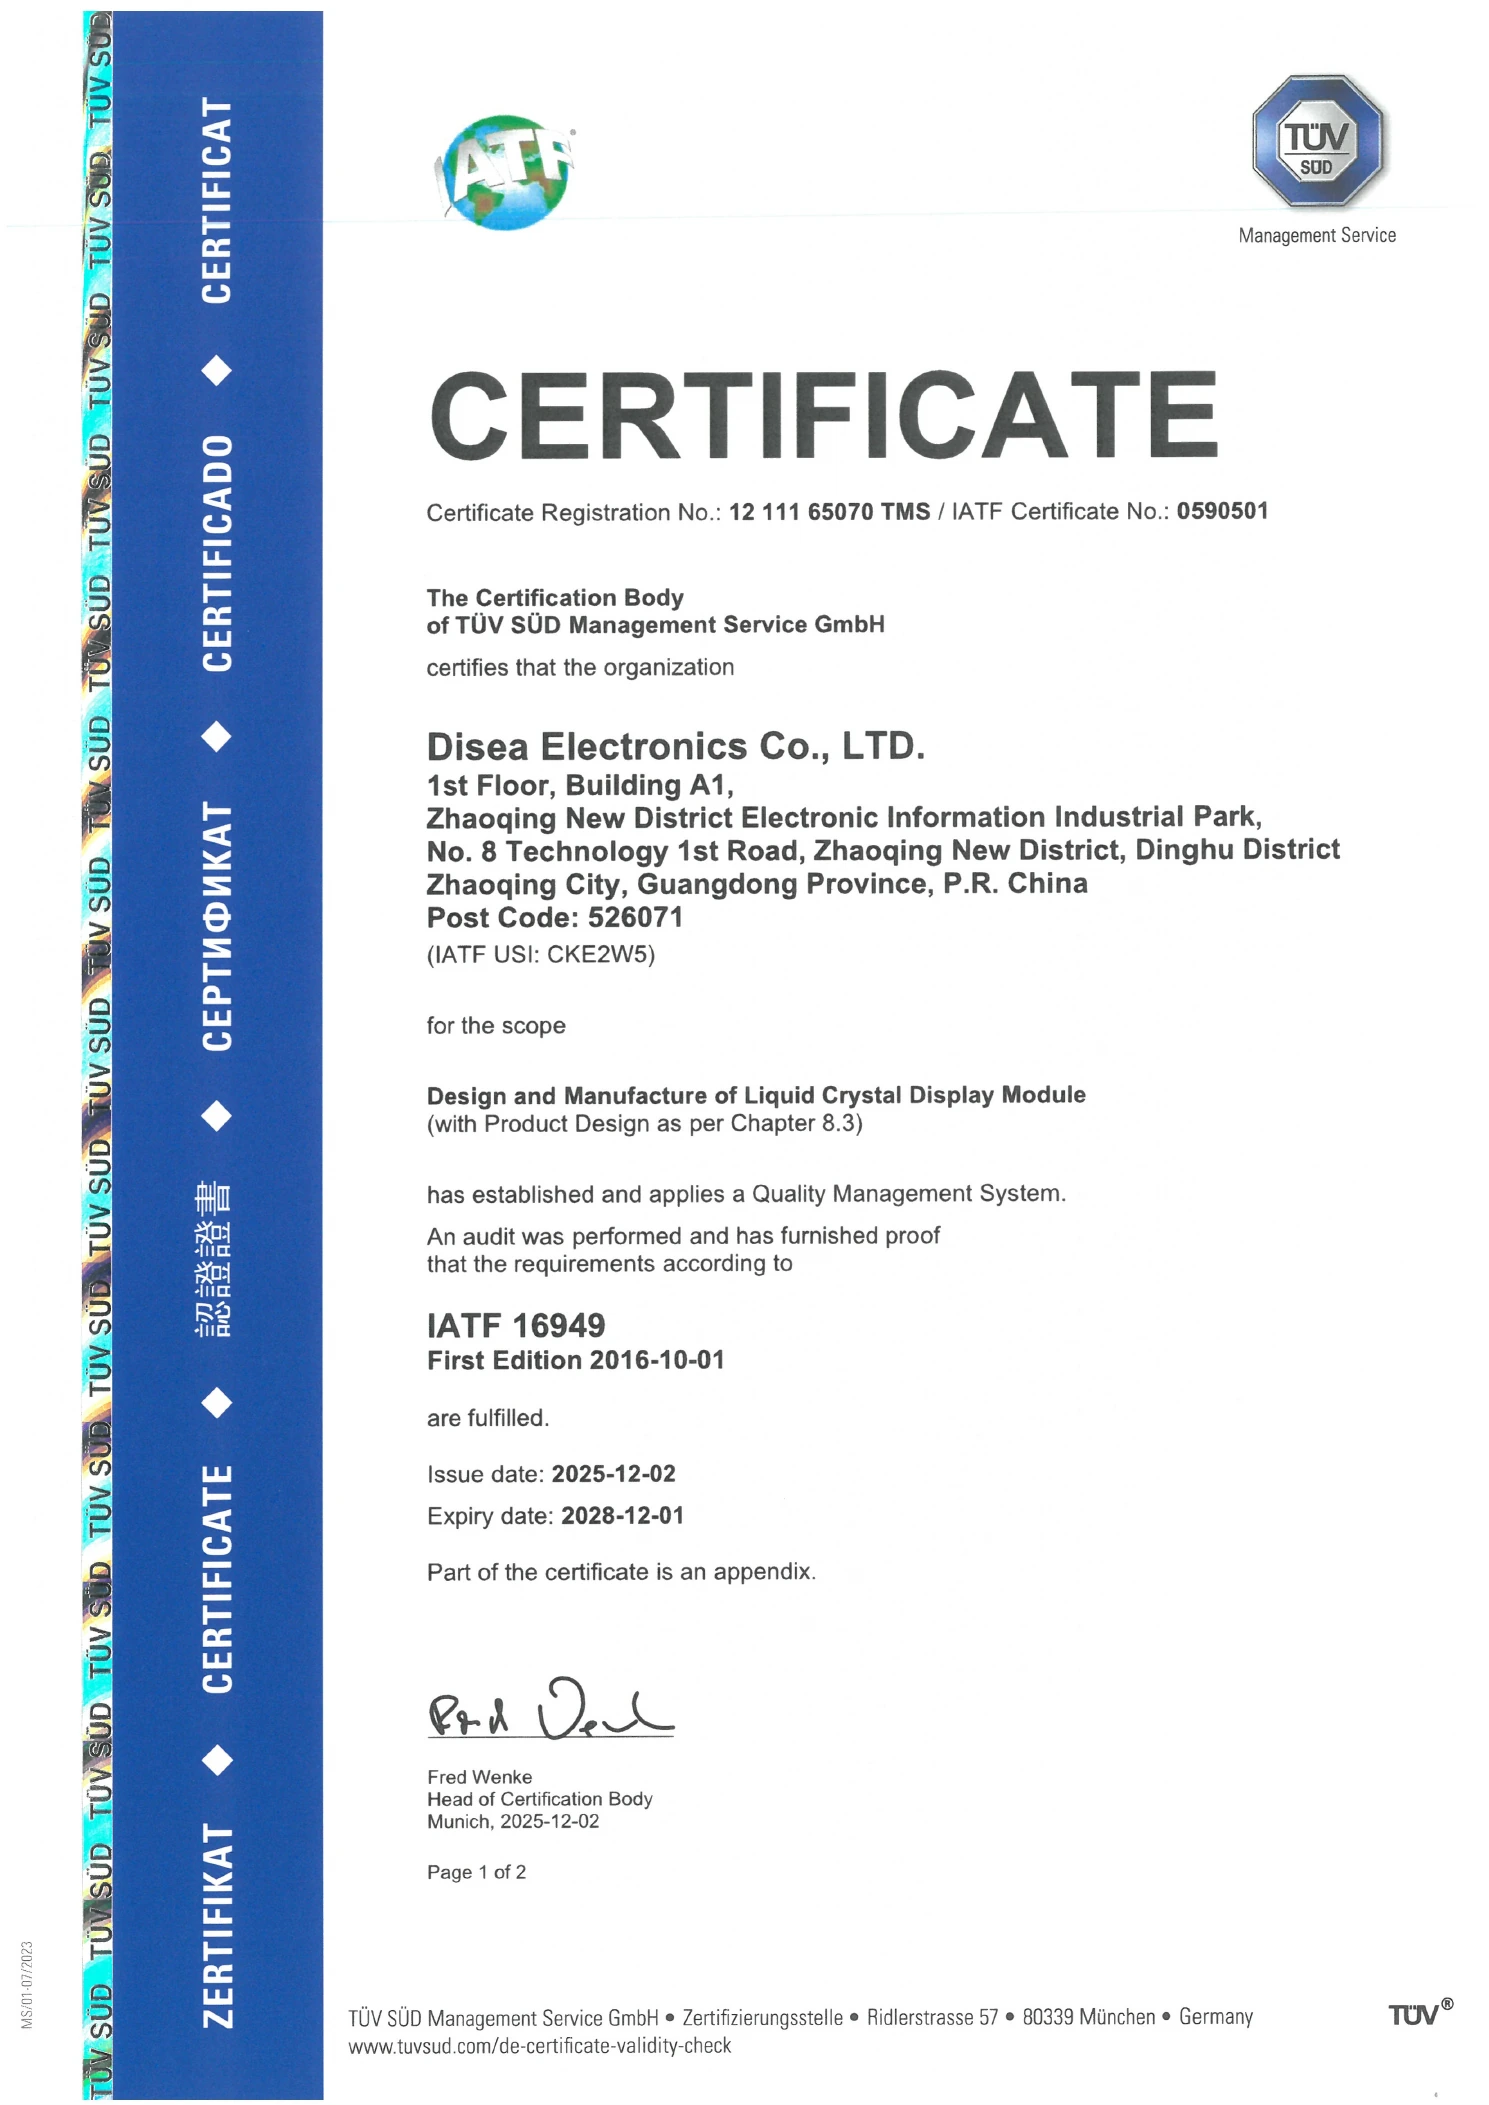
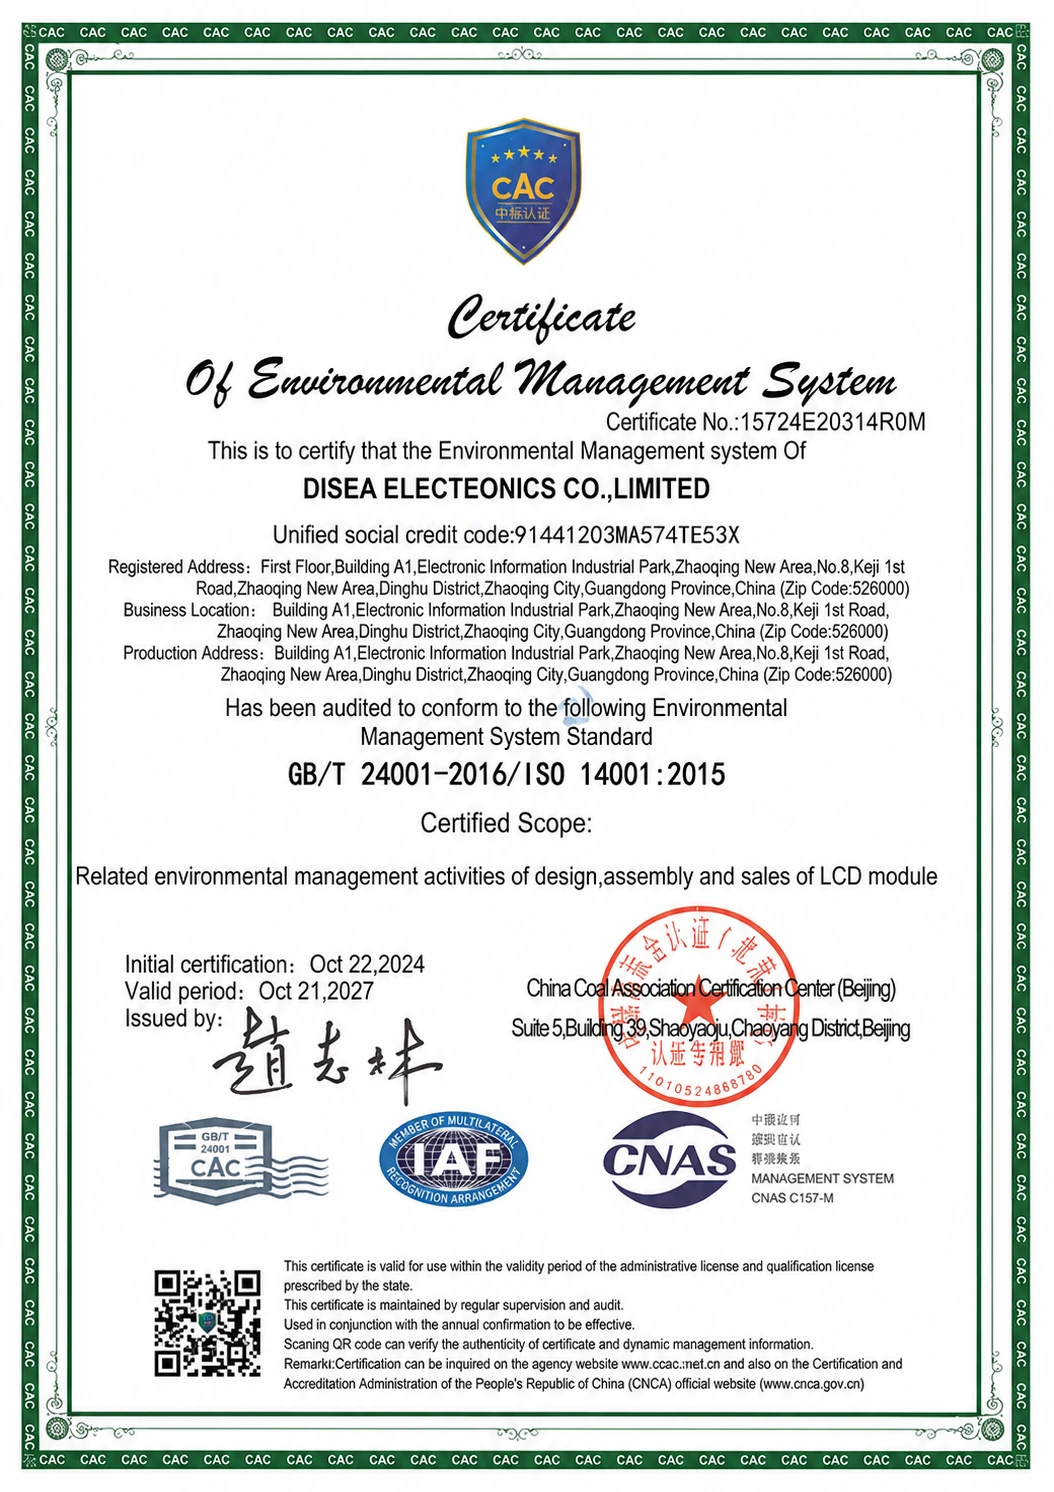
DOCUMENTED SYSTEMS
Open each certificate to review the issuing body, certified scope and validity dates.
05 / FROM REQUIREMENT TO REVIEW
Have a drawing, a datasheet or an existing part number? Start there. You do not need every field finalized to begin the discussion.
Application, host interface, mechanical boundary and operating conditions.
Compare module options and identify questions for customization.
Check the display with your host, enclosure and agreed test criteria.
Approve the current drawing, specification and configuration.
ENGINEERING INSIGHTS
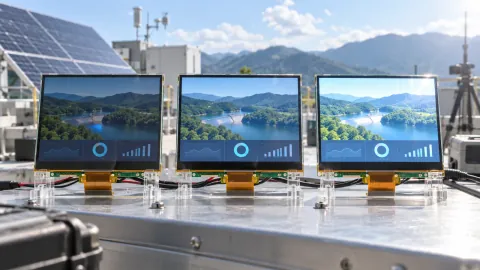
Brightness, reflections, UI contrast and enclosure temperature.
Read the guide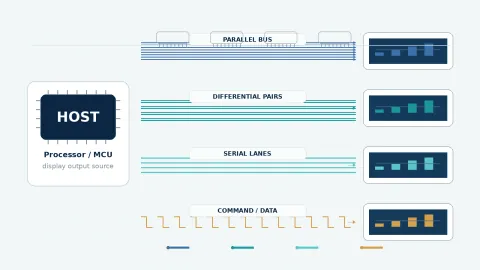
Compare display-link requirements before choosing a module.
Read the guide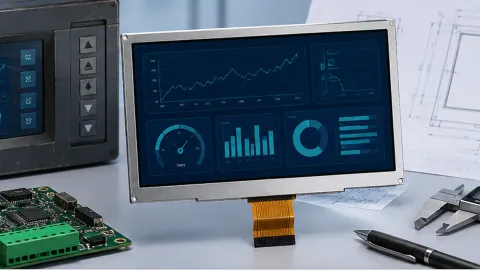
Check mechanics, pinout, timing and backlight requirements.
Read the guideLET’S START WITH YOUR EQUIPMENT
Send your datasheet, drawing or project requirements.
We will use them as the starting point for an engineering review.


